I recently ordered TKB Trading's Silicone Books because well....I have a bad shopping habit. I only needed Cyclopentasiloxane to thin out my hair oils but then decided the Silicone Books bundle was a bargain and bought them without knowing what the hell I was supposed to do with the rest of the stuff.
So I've been experimenting with them and I think I hit the formula for making cream eyeshadows.
I really like it guys! Now I can use my formerly loose eyeshadow alone without any primer! And the best part? This works on duochromes too! Here are swatches to compare performance:
To see how they performed on my eyes, you can check out my post here.
Anyway, as part of my ongoing DIY cosmetics series, here's the tutorial on how to make it:
1. First, sterilize everything. This is important. You don't want an eye infection. I recommend using gloves & a mask too, but if you're making it for personal use and like to live dangerously, it's your call. If you're planning to make this for other people to use, definitely use gloves & a mask. You're more germ-y than you think.
2. The first thing you need to make is the "pressing" medium. For the "pressing" medium, I mixed:
3. Then mix it into your eyeshadows. The consistency of your final results will depend on how much "pressing" medium you add, and to get a cream eyeshadow, you need to add "too much" of the "pressing" medium.
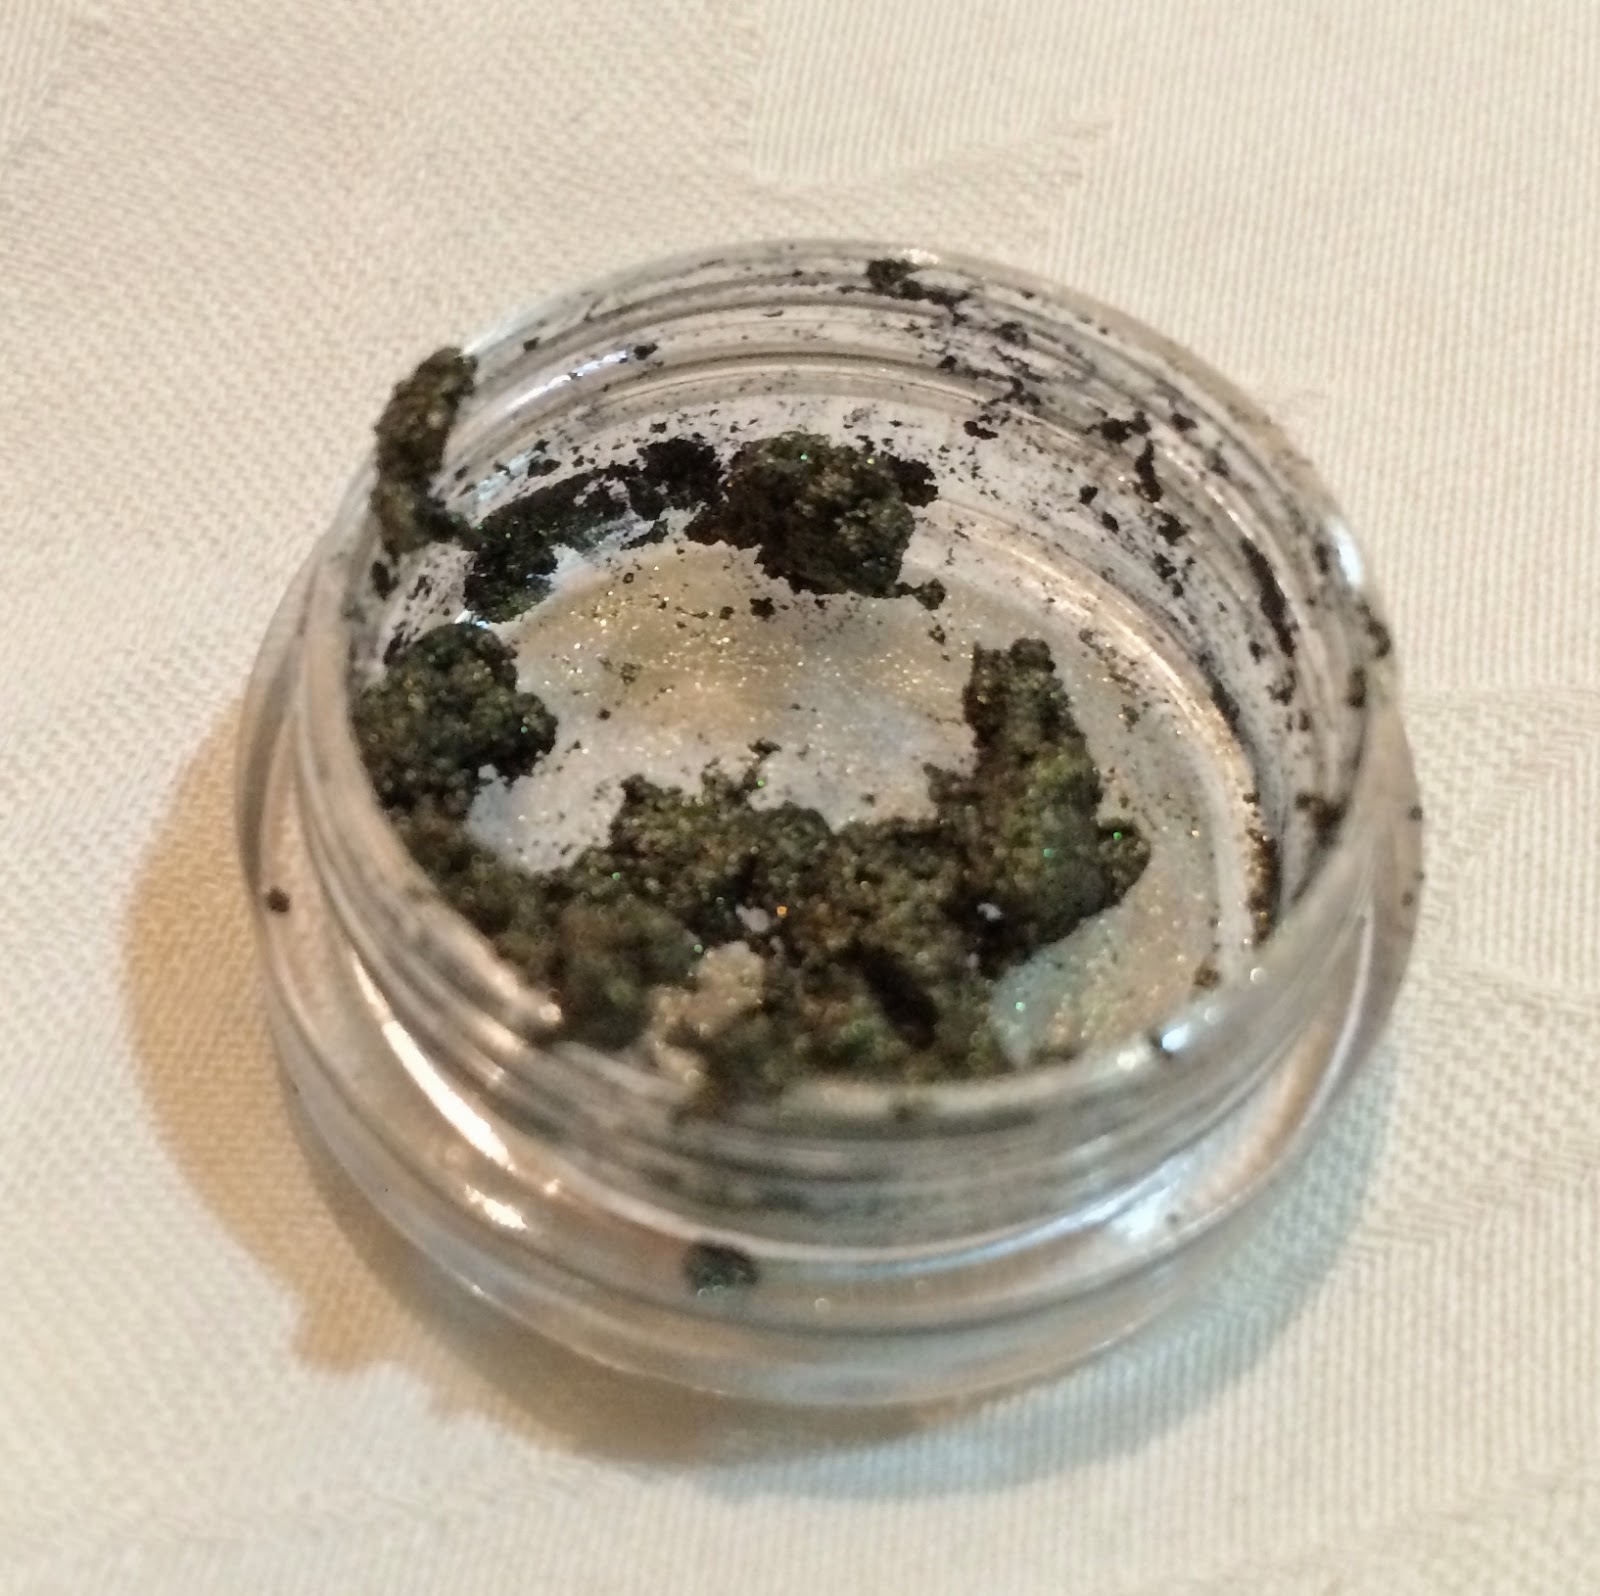
The consistency you want is when everything mixes into one gooey-bouncy ball. You'll know what I mean when you start mixing. It needs to be moist, but you should be able to cleanly gather everything into lumps like this:
Here's a picture of the wrong consistencies:
I'll discuss below why the right consistency is important.
4. Now add alcohol and mix thoroughly. Make sure it's free from any clumps.
Optional step: you can add your preservatives in if you want, and you most definitely HAVE to add preservatives if you're selling your eyeshadows. Do you know what's worse than preservatives in your eyeshadows? Mould.
5. Let it sit until it's dry. Don't press it or you'll end up with messy mush all over the place. And that's it!
Now, discussion time...
So you've seen swatches of eyeshadows creamed at the right consistency. These are two eyeshadows where I used too little "pressing" medium:
The brown had roughly 1-2 drops in the entire pan, and the consistency is more like powder with sugar granules before I creamed it. The performance is equivalent to the loose shadow performance –ie. you can't use it alone on bare skin:
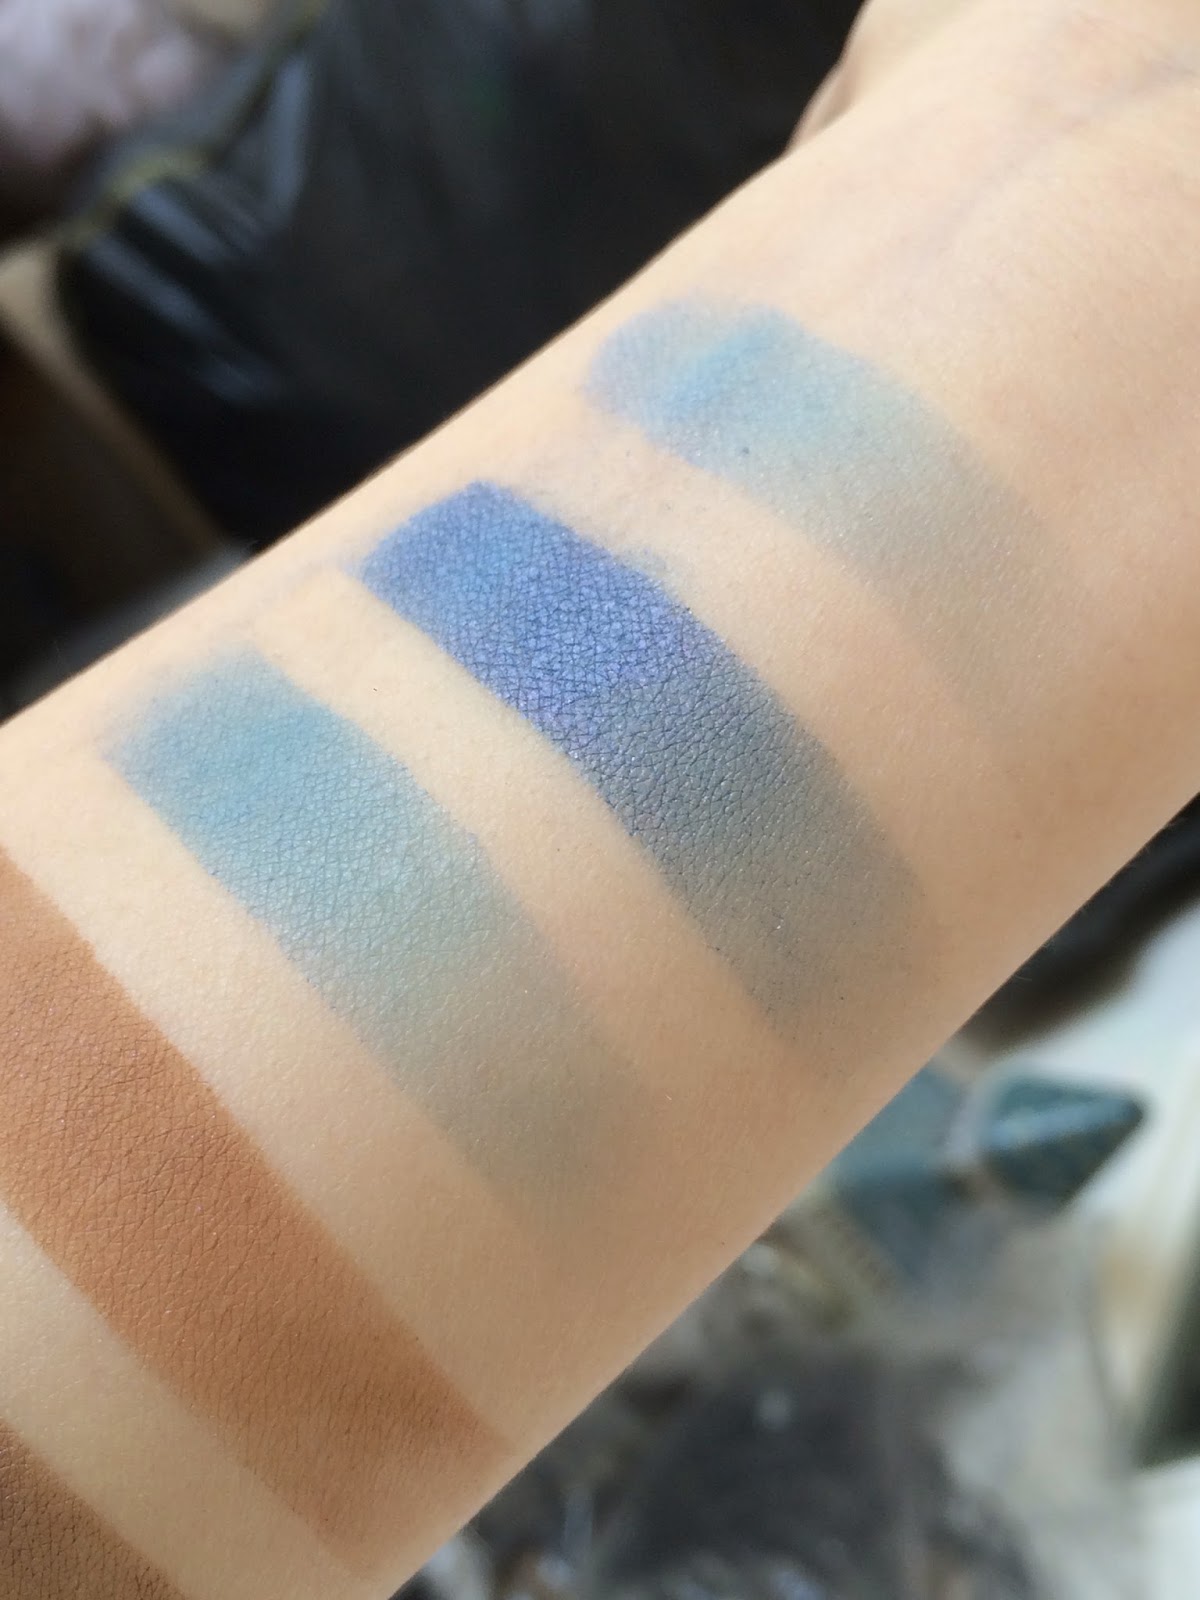
For the blue, I put about 2-4 drops in the pan, and the consistency was more like gravel. As you can see, there's more of an improvement when it comes to bringing out the colour on bare skin. It's already fine on its own over bare skin, but the colour is still not as good as the loose shadow over primer.
If you used too much "pressing" medium, you'll end up with this liquid mush that slides around too much to be usable:
I wouldn't recommend it. So for mattes, I learnt that the trick is to use a tad too much. I'm assuming the higher ratio of oxides makes them harder, so you need to use a tad too much to keep them "creamed".
The picture on the left shows the right consistency for mattes. As you can see, it's a tad more liquid than what's right for shimmers, but you can still ball up the mixture. The picture on the right has too much "pressing" base.
Here are the results:
You know those oil pastel crayons? It has that texture and that kind of stickiness. It could be because this eyeshadow formula contains kaolin, which tends to turn into this sticky clay when wet. It may be different for mattes of a different formula, but at the moment, I'd say don't risk it.
Yes-ish. I'd say the formula still matters for the eyeshadows. I noticed that the texture is softer and more malleable than eyeshadows with an actual formula, but it's still gorgeous and wearable. This is TKB Trading's Sparkle Rose (I laid on the cream bit thick so you can see what I mean by softer):
As you can guess from the results with mattes, not really. This is creamed ultramarines. I know ultramarines are notoriously hard to press, and that's why I picked this particular pigment.
I found it a bit hard to get an even consistency, so I'd say no.
Pros:
Cons:
So I've been experimenting with them and I think I hit the formula for making cream eyeshadows.
 |
| Under natural light over bare skin |
I really like it guys! Now I can use my formerly loose eyeshadow alone without any primer! And the best part? This works on duochromes too! Here are swatches to compare performance:
 |
| Top: Original loose shadow over bare skin Middle: Orgininal loose shadow over Eccentric Cosmetics' primer Bottom: Creamed shadow over bare skin |
To see how they performed on my eyes, you can check out my post here.
Anyway, as part of my ongoing DIY cosmetics series, here's the tutorial on how to make it:
______________________________________
1. First, sterilize everything. This is important. You don't want an eye infection. I recommend using gloves & a mask too, but if you're making it for personal use and like to live dangerously, it's your call. If you're planning to make this for other people to use, definitely use gloves & a mask. You're more germ-y than you think.
2. The first thing you need to make is the "pressing" medium. For the "pressing" medium, I mixed:
- 1 part Dimethicone 350
- 1 part Silicone Gel (Cyclopentasiloxane and Dimethicone/Vinyl Dimethicone Crosspolymer)
3. Then mix it into your eyeshadows. The consistency of your final results will depend on how much "pressing" medium you add, and to get a cream eyeshadow, you need to add "too much" of the "pressing" medium.
The consistency you want is when everything mixes into one gooey-bouncy ball. You'll know what I mean when you start mixing. It needs to be moist, but you should be able to cleanly gather everything into lumps like this:
 |
| It feels a bit bouncy. |
I'll discuss below why the right consistency is important.
4. Now add alcohol and mix thoroughly. Make sure it's free from any clumps.
Optional step: you can add your preservatives in if you want, and you most definitely HAVE to add preservatives if you're selling your eyeshadows. Do you know what's worse than preservatives in your eyeshadows? Mould.
5. Let it sit until it's dry. Don't press it or you'll end up with messy mush all over the place. And that's it!
Now, discussion time...
______________________________________
How Pressing Medium : Eyeshadow Ratio Affects Results
So you've seen swatches of eyeshadows creamed at the right consistency. These are two eyeshadows where I used too little "pressing" medium:
The brown had roughly 1-2 drops in the entire pan, and the consistency is more like powder with sugar granules before I creamed it. The performance is equivalent to the loose shadow performance –ie. you can't use it alone on bare skin:
 |
| Top: Original loose shadow over bare skin Middle: Orgininal loose shadow over Eccentric Cosmetics' primer Bottom: Creamed shadow over bare skin |
 |
| Top: Original loose shadow over bare skin Middle: Orgininal loose shadow over Eccentric Cosmetics' primer Bottom: Creamed shadow over bare skin |
If you used too much "pressing" medium, you'll end up with this liquid mush that slides around too much to be usable:
 |
| Top: Orginal loose shadow over bare skin Middle: Orgininal loose shadow over Eccentric Cosmetics' primer Bottom: Creamed shadow over bare skin |
______________________________________
Does This Work On Mattes?
I wouldn't recommend it. So for mattes, I learnt that the trick is to use a tad too much. I'm assuming the higher ratio of oxides makes them harder, so you need to use a tad too much to keep them "creamed".
The picture on the left shows the right consistency for mattes. As you can see, it's a tad more liquid than what's right for shimmers, but you can still ball up the mixture. The picture on the right has too much "pressing" base.
 |
| Left: Just right for mattes Right: Too much |
Here are the results:
You know those oil pastel crayons? It has that texture and that kind of stickiness. It could be because this eyeshadow formula contains kaolin, which tends to turn into this sticky clay when wet. It may be different for mattes of a different formula, but at the moment, I'd say don't risk it.
______________________________________
Can I Use This Method on Plain Micas?
(ie. Can I make an eyeshadow formula out of this and declare myself a brand owner?)Yes-ish. I'd say the formula still matters for the eyeshadows. I noticed that the texture is softer and more malleable than eyeshadows with an actual formula, but it's still gorgeous and wearable. This is TKB Trading's Sparkle Rose (I laid on the cream bit thick so you can see what I mean by softer):
 | |
|
To view how this looks worn on my eye, head here.
______________________________________
What About Matte Pigments Like Oxides/Ultramarines/etc.?
As you can guess from the results with mattes, not really. This is creamed ultramarines. I know ultramarines are notoriously hard to press, and that's why I picked this particular pigment.
 |
| Top: Original ultramarines over bare skin Middle: Orgininal ultramarines over Eccentric Cosmetics' primer Bottom: Creamed ultramarines over bare skin |
______________________________________
What Are the Pros & Cons Of This Method?
Pros:
- No primer or glitter glue needed
- Safe for duochromes!
- Great for traveling – less messy, more portable
Cons:
- This is not an oily sort of "cream", it's more of a gel-like sort of "cream" so it sometimes balls up to this eraser dust-like texture that may need some getting used to. Here's a picture to give you an idea:
- Like pressing, you may encounter colour changes thanks to the alcohol
- Like all cream sort of products, it has a learning curve if you're only used to pressed powder or loose powder products


Wow! Thank you, this is an awesome idea and looks like it will be fun to experiment with :D
ReplyDeleteThanks for reading! Let me know how it goes for you, and feel free to ask me anything :)
DeleteWhat do you suggest to use as a preservative that is safe for eyes?
ReplyDeleteReally appreciate all your diy tutorials. I am trying to learn and have studied all you info so thanks for sharing.
ReplyDeleteReally appreciate all your diy tutorials. I am trying to learn and have studied all you info so thanks for sharing.
ReplyDelete